Setting Up 3D Secure Authentication
To enable 3D Secure validation for transactions on your site, navigate to the "3DS Configuration" section and complete the setup using the following steps.
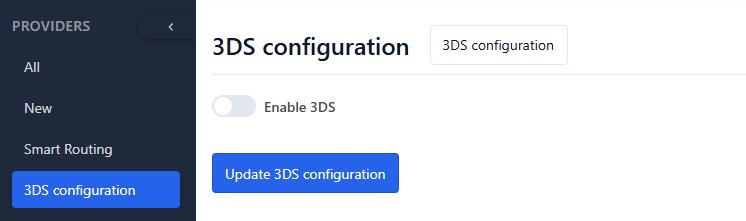
Activating 3D Secure Verification
To activate 3D Secure for transaction processing, toggle the "Enable 3DS" setting by selecting the corresponding checkbox.

You will also need to provide the Merchant Id and Merchant Token, which can be obtained from your account manager.

Then, click the “Update 3DS Configuration” button to persist your settings. The 3D Secure validation will be applied to all future transactions processed through the platform.
Selective 3D Secure Activation for All Transactions
To enforce 3D Secure on every transaction, enable the “Require for all transactions” setting by checking the corresponding box.

Selective 3D Secure Activation for Specific Transactions
To apply 3D Secure (3DS) checks only to specific transactions, proceed as follows:
- Disable the “Require for all transactions” setting in your configuration.
- Leverage routing visibility data to dynamically determine when 3DS should be triggered based on transaction context or predefined rules.
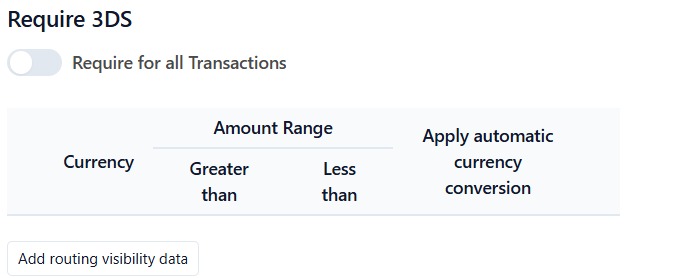
Click the "Add routing visibility data" button to create a new routing configuration.
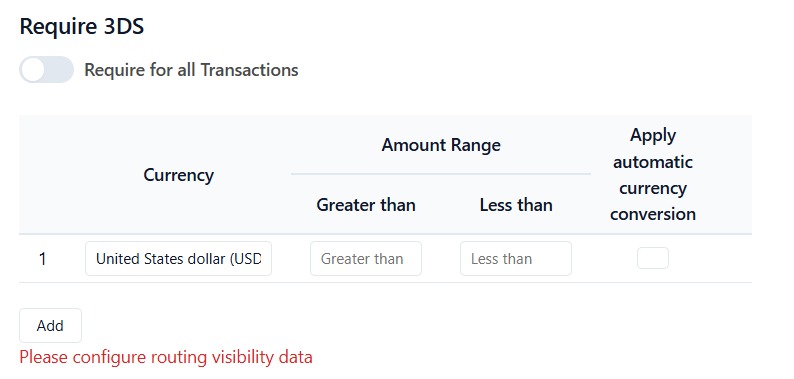
To configure routing logic:
- Define the target currency and establish a corresponding transaction amount range.
- Optionally enable automatic currency conversion for cross-currency payments.
- Set threshold values using the “Greater than” and/or “Less than” fields to bound the amount range.
Example use cases:
- Defining a “Greater than” threshold of $20 will apply the 3D Secure check to any transaction above that amount.
- Setting both “Greater than” to $100 and “Less than” to $1000 will enforce 3DSecure only for transactions within that range.
You can add multiple conditional rules by selecting “Add” at the bottom of the configuration panel.